


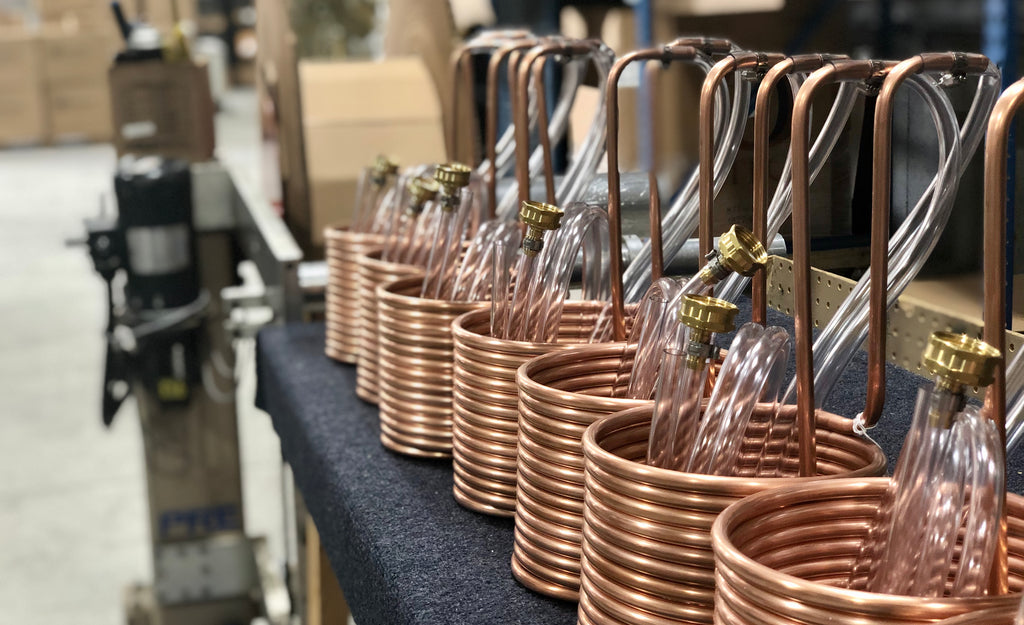
Cleaning and Sanitizing an Immersion Chiller
Initial Cleaning
Your brand new shiny copper immersion chiller will have some residual machine oil left on it, especially near the bends. Its important that you clean your chiller thoroughly prior to first use. Start by washing it with warm water with a mild degreaser (Star degreaser, fragrance free dish soap, etc.). Rinse thoroughly. Then rinse again.

Patina & Dull Oxide Layer
Inevitably, your copper immersion wort chiller is going to tarnish and become slightly deformed. They are manufactured with soft copper, it's science. Rest assured, the performance of your chiller will remain top notch as long as you don't abuse it.
If your immersion chiller ever becomes blue-green (from verdigris—the patina on the Statue of Liberty), you need to remove it before use.
Incase of extreme oxidation and dirtiness, you can also soak your chiller in a diluted distilled white vinegar solution or PBW to get that clean copper shine back. Rinse thoroughly. Then rinse again.
Cleaning Ratio
White Vinegar - 6oz / 5 gallons
PBW - 1oz per gallon
Sanitizing
Many home brewers will sterilize their chiller in their wort during the last 15 minutes of boil. Another option is to boil the chiller in a separate pot, but its unnecessary if your chiller is relatively clean to begin with. Soaking you wort chiller in StarSan for 20 minutes will brighten and sanitize your chiller.
Sanitizing Ratio
Star San - 1oz / 5 gallons

Post Chilling
When you are done chilling, immediately rinse your chiller or place it into a 5 gallon bucket of water until you can properly rinse it. Do not let it sit out and dry. The hop residue and cold break will dry and stick to the copper making it more difficult to clean.